

Connect a provider
Before you start, follow the steps in Connect a provider. Continue after your provider and model appear in the header and the test request succeeds.Add style guidance
Before you ask the agent to help with the draft, calibrate it on your writing voice. Open the references pill in the header, or Settings, then Writing references. Paste three of your passages, run the analysis, pick which close passages sound like you, and finalize the skill. Follow the full walkthrough in Style guidance. Expect about ten minutes.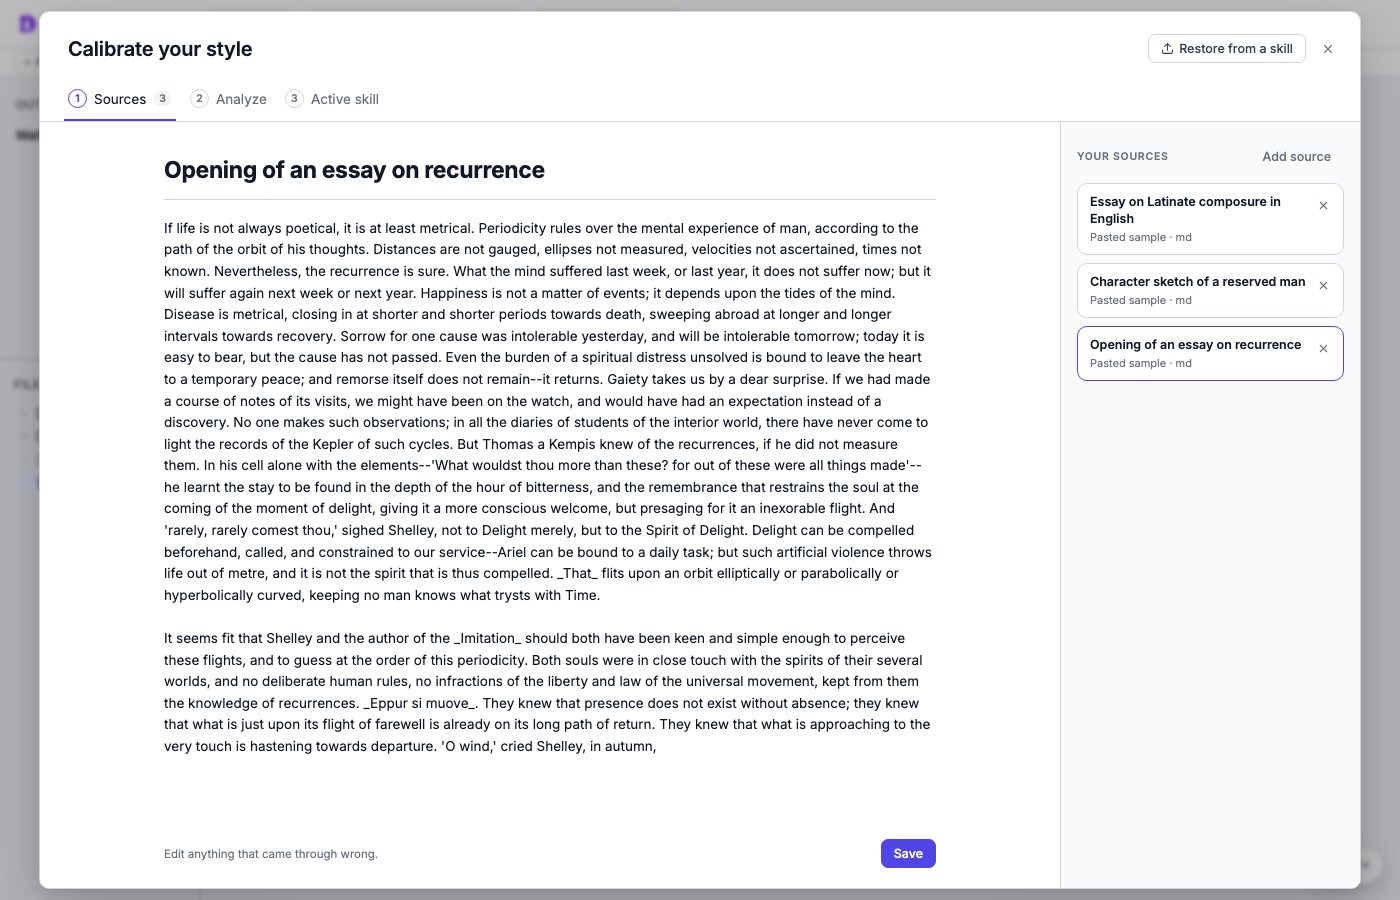
Paste three of your passages, then run the style analysis.
Set the intended audience
Open Settings, then Intended audience. Describe who you are writing for in your own words, then choose Save. For example:Start writing
Open an existing Markdown file or choose New file in the file tree. Write the opening in your own words so the agent has your point and phrasing to work from. You can find the latest draft in the project file because DocWriter saves your work as you type.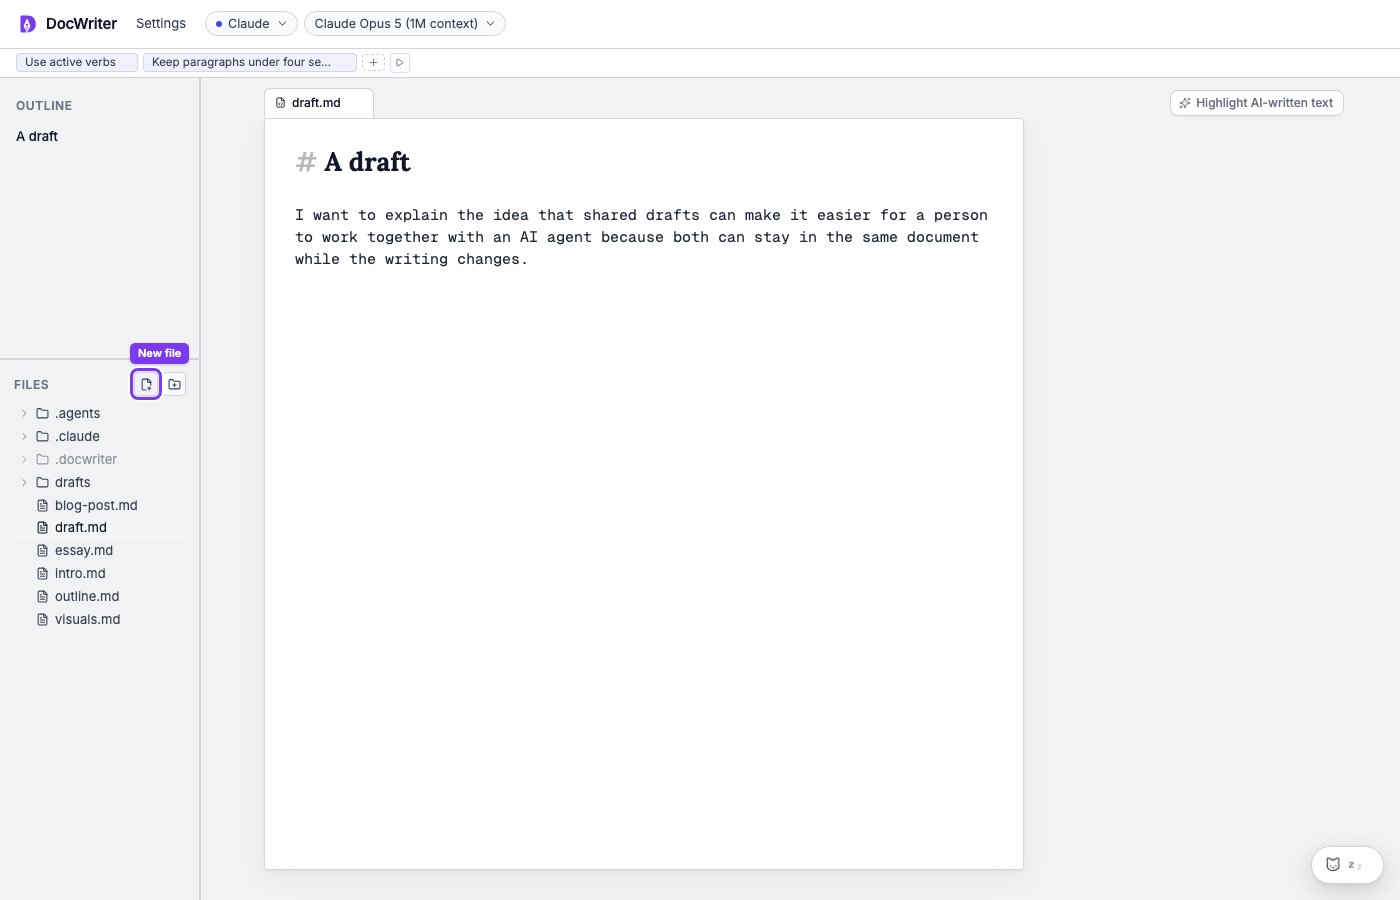
Leave a directive in the draft
When you want help without leaving the keyboard, write the request in the draft itself. Put the instruction inside[[ and ]], (( and )), or << and >>:
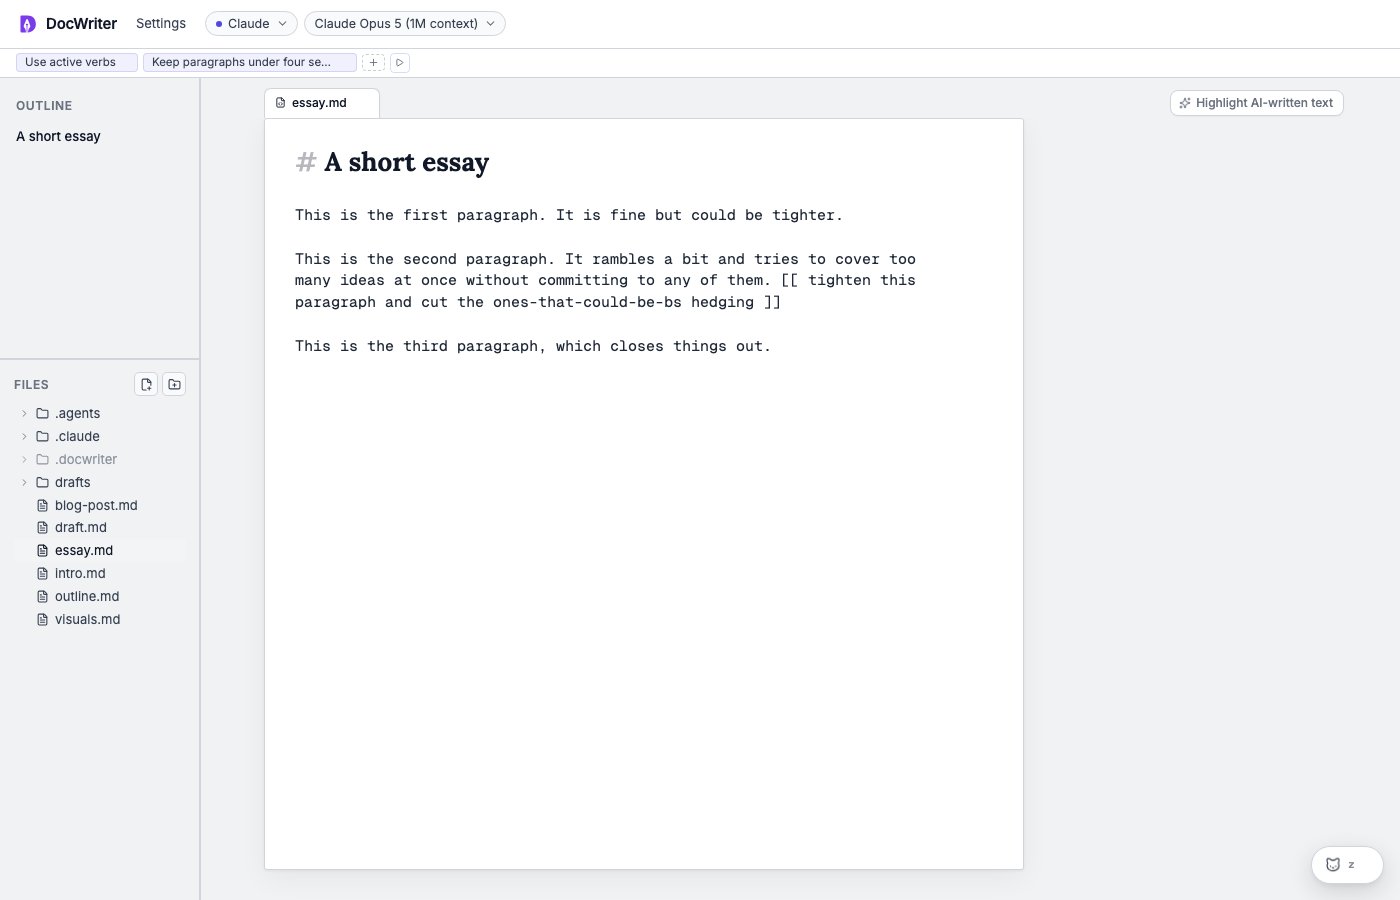
Give feedback in place
Highlight a passage in the draft to open the feedback popup beside the text. Type what you want changed, for example: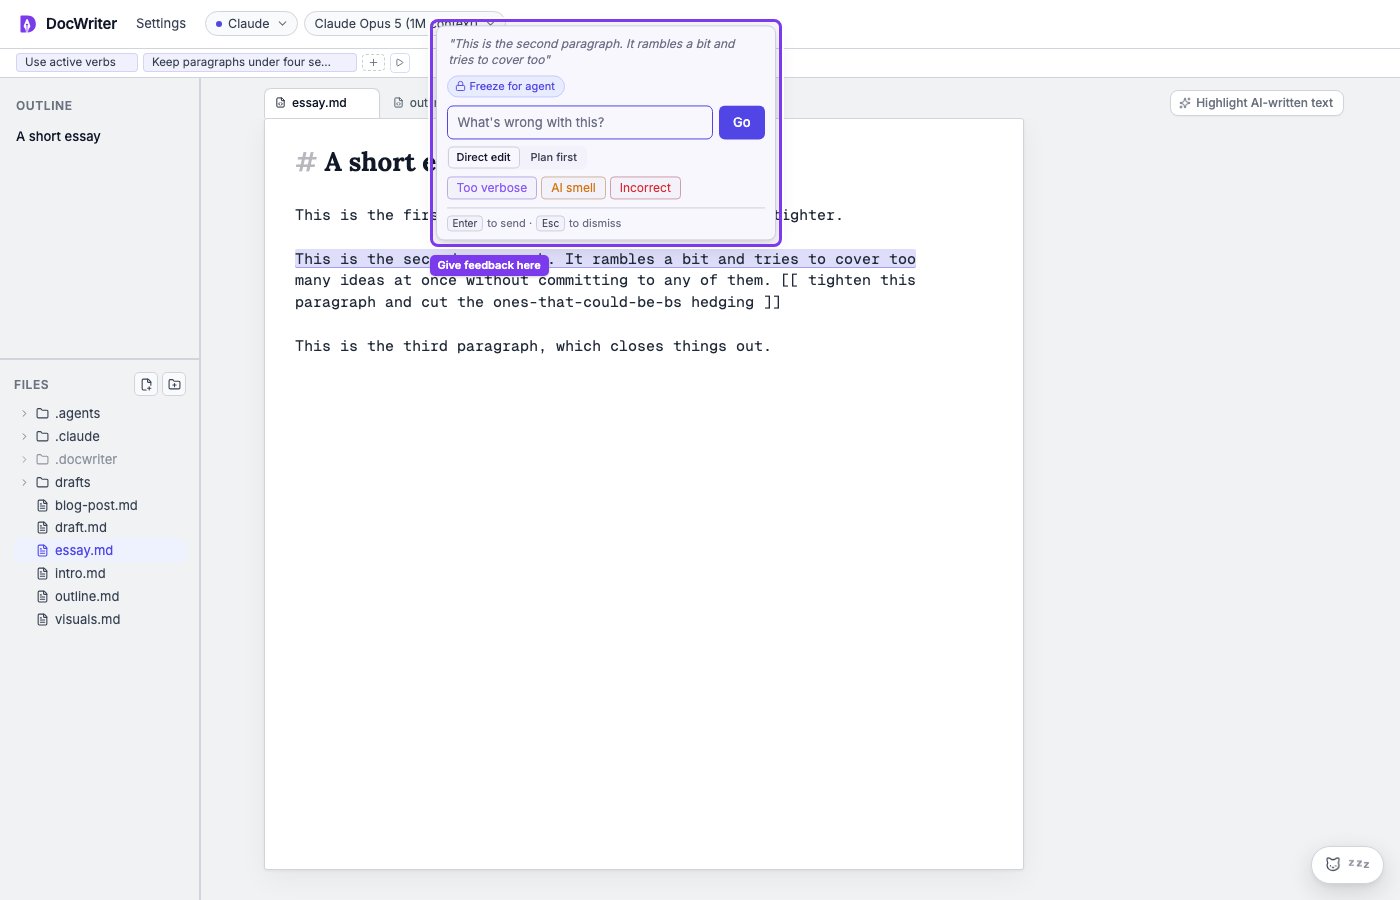
Select a passage to give the agent feedback beside the text.
Review the proposed change
You will see the proposed wording in the editor and a review card in the comment gutter beside it. You can use Accept when the proposal says what you mean. You can use Reject when you want to keep the current text.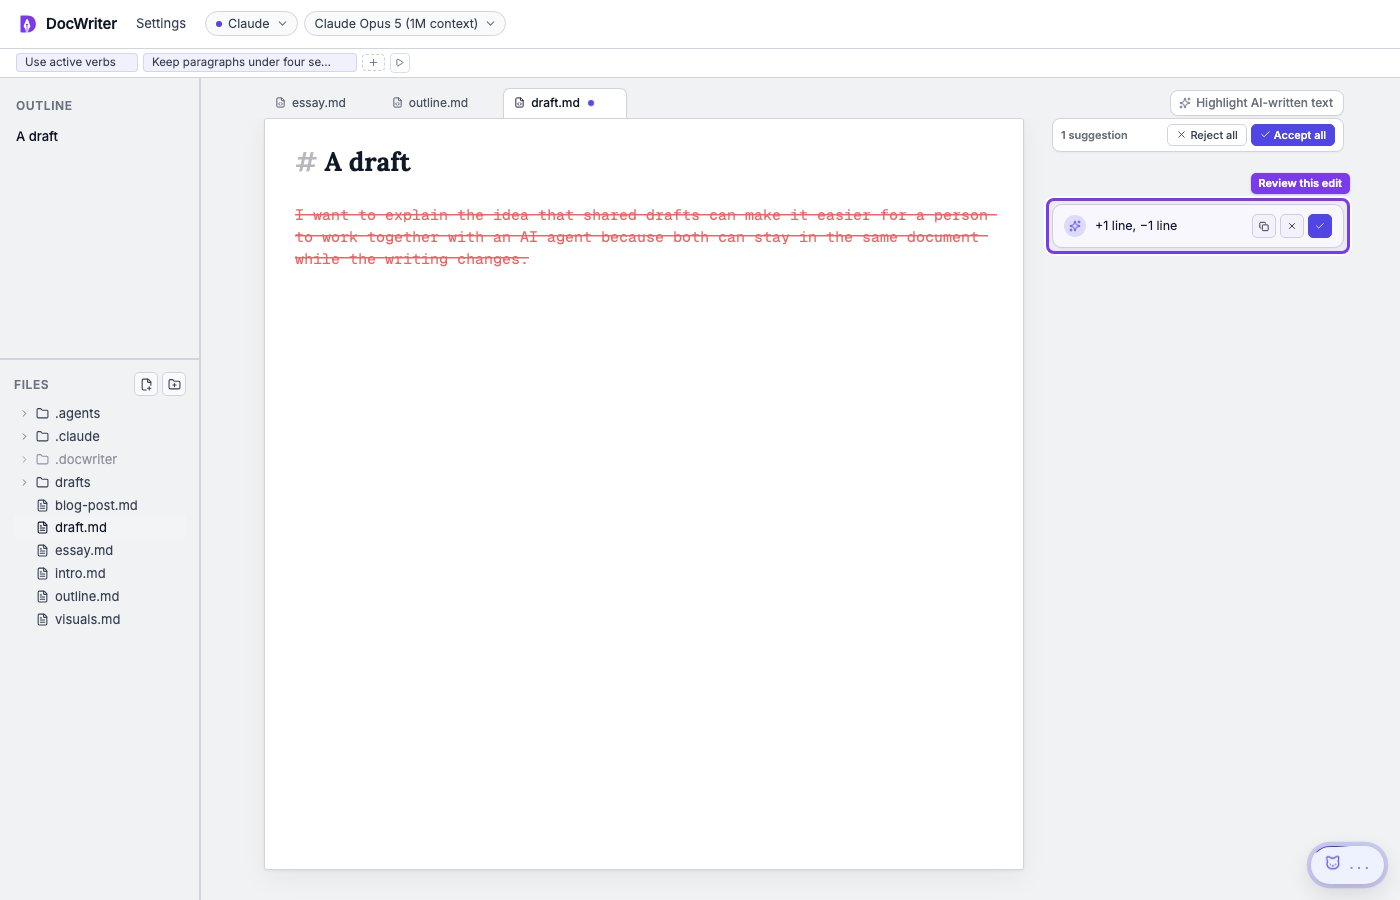
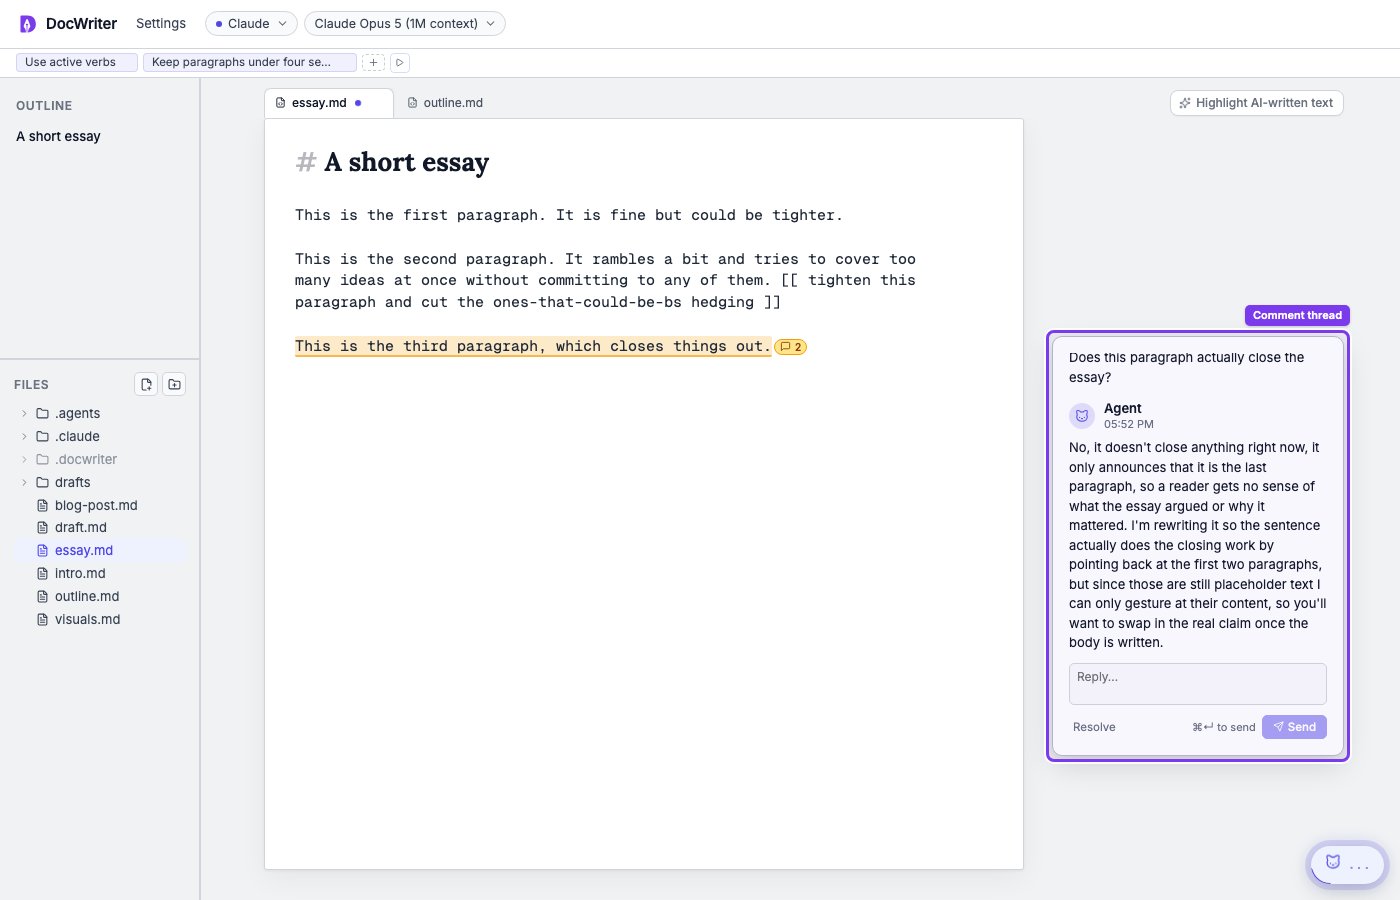
Open the thread and keep commenting
An unresolved passage shows an underline and a small message count pill in the editor. Click either marker to open the gutter card for that thread. From the open thread you can:- Read the agent’s reply and any linked proposed edit
- Type a reply to continue the discussion on the same passage
- Accept a linked edit when the wording improves the draft, or reject it when it does not
- Choose Resolve when the discussion is done
Turn feedback into rules
Save a writing rule when the same preference should apply to later requests. For example, if you repeatedly ask the agent to use complete sentences, add that instruction once as a rule. Open the rules toolbar above the editor and choose Add rule. The agent can also suggest a rule after it notices a repeated preference. Accept a proposed rule when you want to keep using it, or dismiss it when the feedback applies only to the current passage.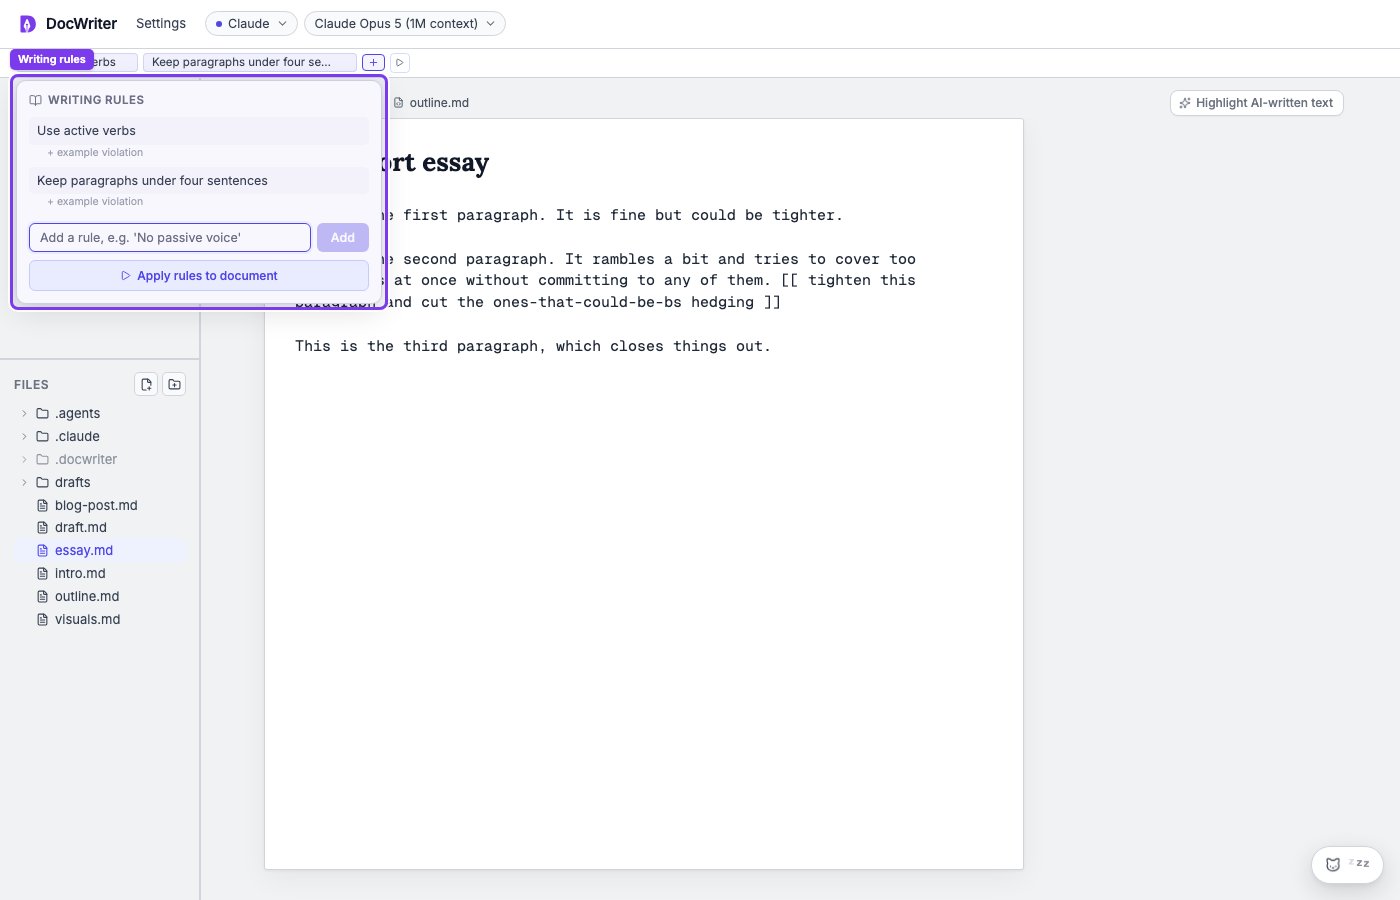
Writing rules appear in the toolbar above the editor.
Run final critique passes
When the draft is complete, open Settings, then Critique pass. Choose a reviewer based on the feedback you need. The Copy Editor checks sentences, the Skeptic checks unsupported claims, the PhD Advisor checks the argument, and Fresh Eyes checks what may confuse a new reader.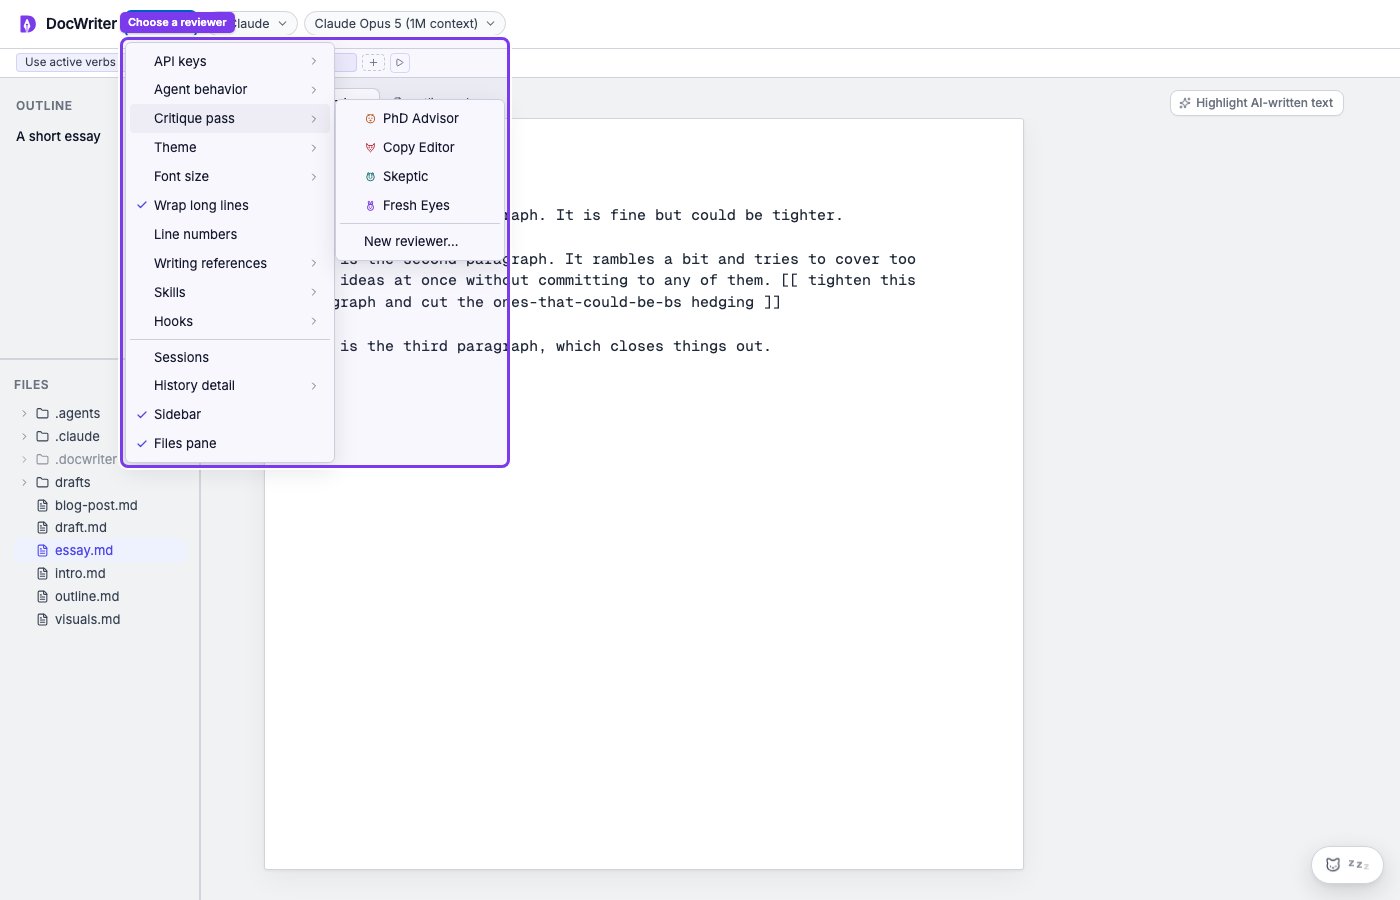
Choose a reviewer from Settings, then Critique pass.